
Sure thing! The Indian Bank Net Banking services let anyone with an account do their banking stuff online. You can do things like online transactions, pay bills, apply for a debit/credit card, and more. If you want to sign up for Indian Bank online banking, the steps for registration and activation are on this page.
Features of Indian Bank Net Banking
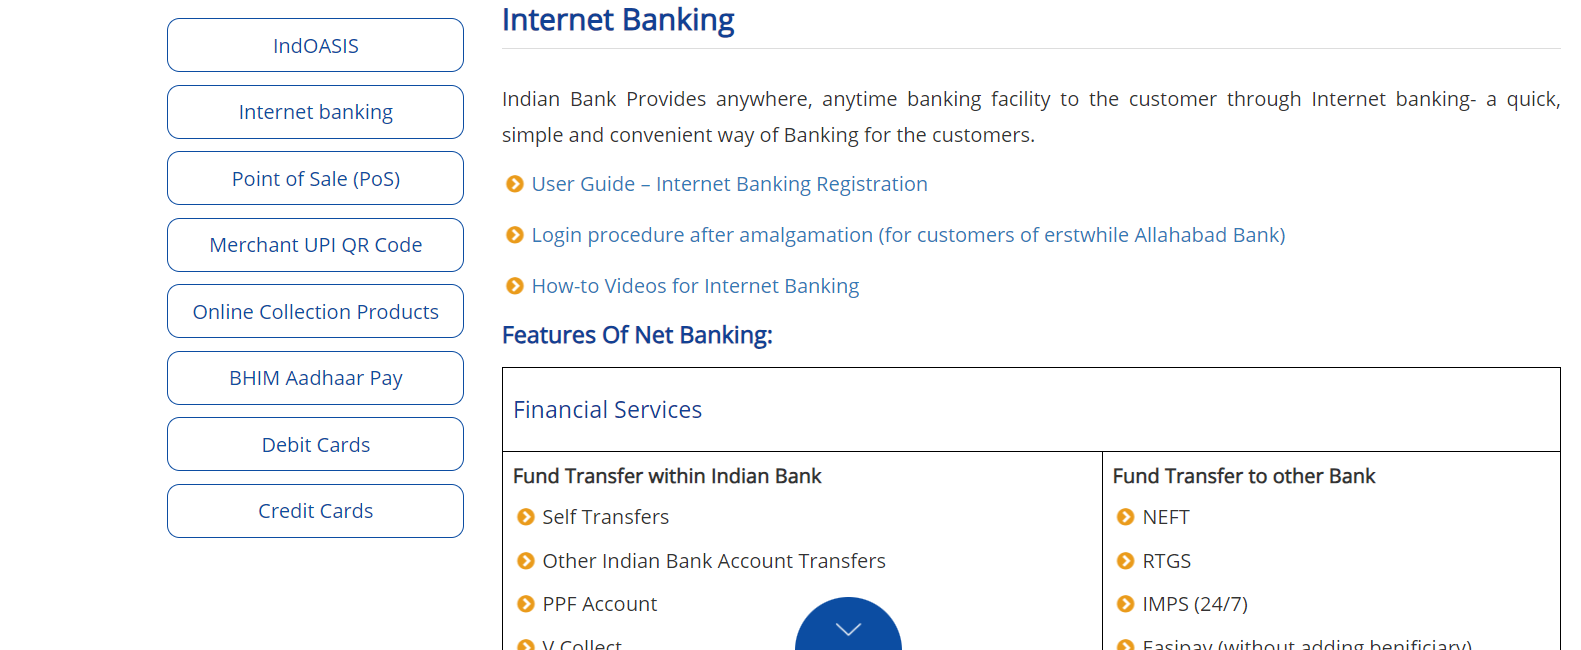
Let me break it down for you! With Indian Bank Net Banking, you get some cool features:
- Money Moves: Easily transfer funds from your Indian Bank account to others through NEFT, RTGS, or IMPS.
- Account Check: Keep an eye on your account details and make updates whenever you need, all online.
- Savings Made Simple: Open Fixed Deposits (FDs) or Recurring Deposits (RDs) hassle-free and even withdraw them early if you want.
- Balance Check: See how much moolah you’ve got and check your account activity and checkbook status online.
- Travel Plans: Book your air, rail, or bus tickets with the convenience of net banking.
- Bill Pay Power: Settle your credit card and utility bills online, no sweat!
Alright, let’s simplify the process! If you want to get on board with Indian Bank Net Banking, here’s what you need to do:
Visit the Website: Head to the Indian Bank online banking portal at this link.
Initiate the Process: Click on ‘Login’ and then choose ‘New User’ on the next page.
Fill in Details: Enter your CIF or account number, along with the mobile number linked to your account. Hit ‘submit.’
Verify with OTP: You’ll get a one-time password (OTP) on your registered mobile. Enter it to confirm.
Complete Account Info: Fill in your account details and other necessary information.
Choose Your Facility: Pick the type of services you want.
Set Password: Create a password for your net banking account.
Security Check: Select and answer two security questions.
Activation Method: Decide how you want to activate your account—either at an Indian Bank branch or through an ATM card.
Branch Activation: If you choose the branch, download the form, fill it out, and submit it to your nearest branch.
ATM Card Activation: If you prefer the ATM card route, agree to the terms, and enter your card details on the next page.
Verification: Once the bank checks everything, your net banking account will be up and running within the next 24 hours. Easy peasy!
Let me break it down for you! If you’re using Indian Bank Net Banking, here’s how you log in for both personal and corporate banking:
For Personal Banking:
- Visit the Website: Go to the Indian Bank Internet Banking page at this link.
- Initiate Login: Click on ‘Login’ under the Individual Banking section.
- Enter Details: Fill in your Username and Password in the given fields, then hit ‘Log in.
That’s it! You’re in. Easy, right?
Got it! If you’re using Indian Bank Corporate Banking and want to log in, just follow these steps:
Visit the Website: Head to the official Indian Bank e-banking website at https://www.netbanking.indianbank.in/ and click on ‘Login.’
Navigate to Corporate Section: Find the Indian Bank Corporate Net Banking section.
Enter Details: Fill in your Corporate User ID, Password, and the Captcha. Click ‘Login’ to get into the net banking portal.
Easy as pie, right?
If you ever need to reset your Indian Bank Internet Banking password, no worries! Just follow these steps:
Log In: First, log in to Indian Bank online banking at this link.
Enter User ID: Click on ‘Login to Net Banking,’ enter your user ID, and hit continue. Forgot
Password: On the next page, click on ‘Forgot Login Password.’
Follow the Steps: A pop-up window will appear. Click ‘Next’ to continue.
Provide Info: Enter your Username, Bank Account Number, Date of Birth, Mobile Number, Country, and the CAPTCHA code. Click ‘Submit.’
Verify with OTP: Enter the OTP you get on your registered phone.
Set New Password: Now, set your shiny new net banking password. You can also do this by visiting an Indian Bank branch or using your ATM card info.
Initiate Request: Input the new password, then kick off the request.
And there you go! You can now log in to the Indian Bank net banking portal using your fresh password. Easy-peasy!
How to Transfer Funds Using Indian Bank Internet Banking?
Indian Bank online banking users can transfer funds to other accounts using the IMPS/NEFT/RTGS process. Here are the steps that need to be followed:
- Log in to the net banking portal using the user ID and password.
- Select the “Fund Transfer” option.
- Choose the preferred mode of fund transfer (NEFT/RTGS/IMPS).
- Select “Fund transfer to account” and add all the details, including the beneficiary’s account number, IFSC code, beneficiary’s name, and the amount.
- Select “Confirm”.
- Enter the OTP received on the registered phone number.
Indian Bank Net Banking Application
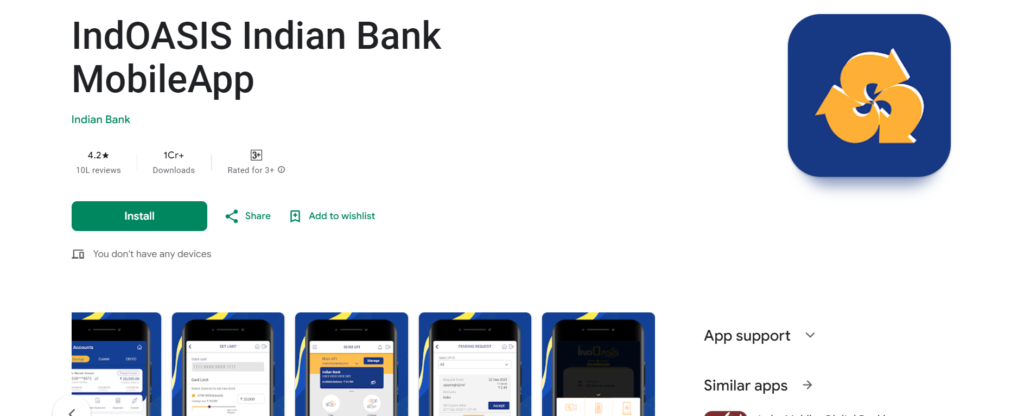
Indian Bank doesn’t stop at online banking—it’s got a nifty mobile banking app too! By downloading the Indian Bank Mobile Banking app, customers can take their banking game to their mobile phones. Check out the cool services it offers:
Also Read: How To Login To IOB Net Banking And Register Features,
Account Deets: Access all the juicy details of your bank account.
- Ticket Time: Book your tickets online, hassle-free.
- Shop Away: Enjoy the convenience of online shopping.
- Money Magic: Make instant money transfers like a wizard.
- Insurance Perks: Pay your insurance premiums without breaking a sweat.
- Chequebook Check: Find out the status of your checkbook with a quick inquiry.
- Bill Pay Power: Settle your bills online with ease.
- Card Control: Manage your debit or credit card services effortlessly.
- Grievance Guru: Lodge complaints or request services seamlessly.
- KYC Update: Keep your KYC information up to date.
- History Buff: Peek into your transaction history whenever you want.
- Tax Time: Pay your taxes online—quick and simple.
- Trade Online: Dive into the world of online trading services.
- Chequebook Magic: Request and receive a new checkbook hassle-free.
- Now, that’s a whole bunch of services at your fingertips!
Indian Bank’s Merger with Allahabad Bank
Big news! Indian Bank and Allahabad Bank joined forces on April 1, 2020. This merger brings a bunch of perks for customers, making banking even better. Check out what’s new:
More Everywhere: Now, there are more branches and ATMs for you to access.
Extra Help: Get ready for additional customer service—it’s all about making things easier for you.
Digital Glow-up: The digital banking services got a facelift, so it’s even more user-friendly.
No Net Banking Worries: If you’re into net banking, good news! No changes there. Registered users can keep rocking their bank’s mobile and internet banking apps as usual.
Best of Both Worlds: The new combo bank, known as the Integrated Entity, cherry-picks the best features from both Indian Bank and Allahabad Bank’s Internet and Mobile Banking services.
Also Read: Bank of India Kiosk Registration 2023: 5 Easy Steps to Start BOI Kiosk Banking
It’s a win-win for everyone!
FAQ
Here’s the lowdown on some frequently asked questions:
Q. What’s the deal with the Indian Bank net banking user ID?
A. Your user ID is like your special key to unlock the net banking magic. You can find it in your Bank Passbook or Statement. If it’s playing hide-and-seek, just reach out to the branch—they’ll help you find it.
Q. Is there a charge for using Indian Bank’s Internet banking?
A. Nope, not a dime! Right now, Indian Bank is offering net banking services for free.
Q. How do I add recipients for fund transfers in Indian Bank net banking?
A. Easy peasy! Log in, head to the ‘Payments’ section, and click on ‘Transfer’ in the ‘Beneficiary Maintenance’ menu. Then, hit ‘Create Beneficiary Template,’ fill in the details, and save.
Q. How can I check my Indian bank account statement using net banking?
A. It’s a breeze! Click on ‘Account Activity’ to check and download statements for transactions from the last six months. Head to the ‘Services’ tab and choose ‘Historical Account Statement’ for older transactions.
Q. Can I use one net banking user ID for multiple Indian bank accounts?
A. Absolutely! If all your accounts share the same customer number, you can use the same net banking user ID for all of them. Convenience at its finest!

